

5 Key Design Steps in a Web Design Workflow
If you’ve ever searched Google for “web design workflow” you’ll find that most results focus on the entire “web design and development” process—from defining the scope of work, gathering content, and wireframing to designing, implementation, testing, and site maintenance post launch.
While that information is good to know, most of those workflows barely describe what goes on during the extremely important Design phase. However, in this article, you’ll discover the five key design steps in a web design workflow to help you maximize your web design productivity.
Step 1: Sketch it out
At the start the Design phase, you’ve already defined the project and established the scope of work to achieve the project’s goals, researched your topic, considered the user’s experience, and built your wireframes. Thus, the true first step in your Design phase is sketching your ideas on paper with a regular old pencil or pen in hand. There’s something special that happens when you connect your brain to your hand; magic often pours out because you’re dealing with pure form and ideas rather than shapes, colors, and content. Quickly and without bias, draw what immediately comes to mind. Whatever you have in your head, get it out on paper first.
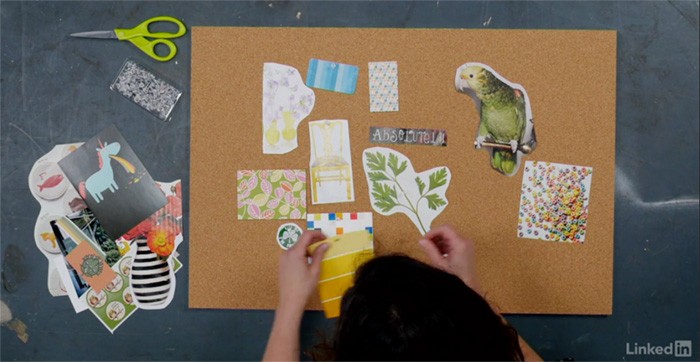
Step 2: Make a moodboard for web design
Lots of industries—like fashion, interior design, and photography—regularly use moodboards to help clarify a project’s goals and make aesthetic decisions before creating a design. Believe it or not, you can use moodboards for print, mobile, and web design too! Moodboards are a fun and fast way to make aesthetic decisions, before you start designing, to capture the mood and meet the goals of a project in strictly visual terms, such as color, texture, imagery, and pattern. Watch my course Moodboards for Web Designers on lynda.com to discover six unique methods.
Step 3: Design the mockup(s)
Designing the mockup is the most challenging and fun part of the design process because this is where you’ll put all your skills to use. Using your preferred design app, like Photoshop, Illustrator, or Sketch, create a new document in the desired size and add all the content to the layout using default sizes and colors. Next, start to move things around. Resize, add color, and position elements in a harmonious layout. If you’ve included multiple mockups as part of your design contract, build those as well. Otherwise, when your mockup is complete, ignore it for 24 hours and look at it again with fresh eyes to ensure you’re still 100% happy before you show it to your customer.
Step 4: Make revisions and get approval
Experienced designers know that milestones can help make the design process flow more smoothly. One such milestone is showing your customer the mockup and getting written approval on the design before moving into production. Many times, before granting approval, a customer will find issues with a design. This is to be expected, as a customer will often want to put in his or her two cents. It also means you’ll need to make some revisions. Limit the number of “rounds of revisions” in your contract to a maximum of 2-3 rounds so this part of the design phase doesn’t spiral out of control. If the client is still not satisfied at the end of the allotted rounds, you can always offer to continue working at your hourly rate for any extra work that falls beyond the scope of your contract.
Step 5: Optimize your images and export/extract CSS
After your client grants written approval, it’s time to optimize your graphics and export or extract the CSS in preparation for moving into the Production phase—that is where you, a production person, or a development team will convert your design into a working functional website. Not every part of a design needs to be a web graphic, of course. Styles like background colors, fonts and font styles, borders, and drop shadows will all be converted to CSS. What will need optimization are all your photographs, logos, icons, illustrations, and any other graphics that cannot be converted into CSS. Photoshop and Illustrator CC have tools to export and/or extract HTML, CSS, and SVG, while Dreamweaver lets you extract and paste CSS styles right into an HTML file. Sketch also allows users to copy CSS attributes for the borders, fills, gradients, shadows, and text styles of selected objects.
Once you’re finished optimizing and extracting, your Design phase is complete!
To learn more about Moodboards for Web Design, watch my course Moodboards for Web Designers on lynda.com. You might also like some of these other web courses:
- Moodboards for Web Designers
- Productivity Tips for Web Designers
- Design Aesthetics for Web Design
- Mapping the Modern Web Design Process
- Web Design Fundamentals

Topics: Productivity tips
Related articles